How to install a virtual XAMPP web server on Lubuntu
Introduction
This page explains how to install a Xampp server in a Lubuntu virtual machine. The aim of this page is to create a virtual machine working as a remote server. The following has been tested with following version:
- VirtualBox Version 6.1.38_Ubuntu r153438
- Lubuntu 22.04.1 LTS (Jammy Jellyfish)
Configure the virtual machine
Let's start by creating the virtual machine. Download the Lubuntu version suited for your needs, in my case, the last LTS. I suggest to download from the official Lubuntu website.
While the iso file is downloading, let's configure VirtualBox. Create a new virtual machine

Select the amount of memory. In my case, 8Gb:

Create a new virtual hard disk for your server:


Select dynamically allocated to save disk space on the host computer:

Set the file location (where the machine will be saved) and the size. I suggest 12 or 14 Gb to have some margin. Anyway, as the disk is dynamic, it should not be a problem.

Create and start the new virtual machine.
Install Lubuntu
During the first start of the machine, the machine asks for a start-up disk.

Click on the little folder icon to open the Optical Disk Selector. Then click Add and locate the Lubuntu ISO file we downloaded previously:

Start the machine, select try or Install Lubuntu and wait for Lubuntu to boot:
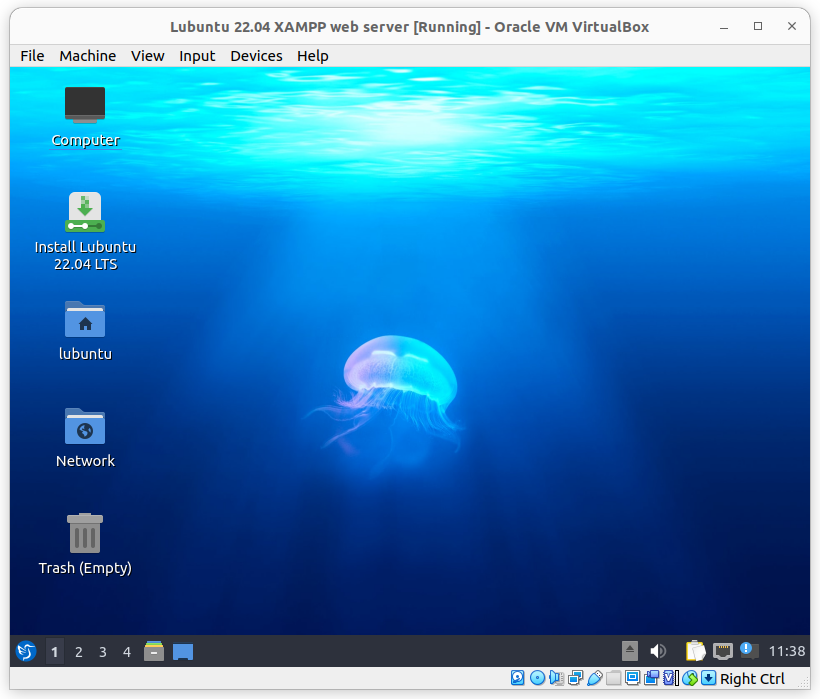
Note that Lubunutu is not installed. Is has been launched from the ISO files. On the desktop, there is a launcher named Install Lubuntu 22.04 LTS. Start the installer and follow the instructions. Once the installation is over, restart the virtual machine

Configure Lubuntu
After restart, log in your session if you previously set a password. You can also change the Lubuntu display settings to get a better resolution:

Change the setting, apply. Don't forget to save if you want the configuration to be keep after reboot.

In the VirtualBox settings, in the network tab, set Bridged Adapter. The virtual machine get a new DHCP IP on the network. Thus it becomes a new independent server machine.

Last step before installing the server is to check that Lubuntu is up-to-date.
In a terminal (Ctrl+Alt+T) run the following commands:
sudo apt update
sudo apt upgrade
If the disk size is important, remove unused packaged:
sudo apt autoremoveInstall XAMPP
XAMPP is a PHP development environment. Installing XAMPP will install
- Apache (web server)
- MariaDB (database)
- and PHP
Download the XAMPP installer from this page. Once the .run file is downloaded, open a terminal, goes into the Downloads folder.
cd DownloadsMake the installer executable:
chmod +x xampp-linux-*-installer.runRun the installer with root privileges:
sudo ./xampp-linux-*-installer.runThe installer should start:

Click Forward and leave the default components by default:

Click Forward and select installation folder (leave default folder if not sure):

Click Forward:

Click Forward to install XAMPP:

Select Launch XAMPP and click Finish:

The XAMPP control panel should start:

If the control panel does not start, run the following command in a terminal:
sudo /opt/lampp/manager-linux-x64.runWeb server
In the Manage Servers tab, start the service you need:
- Apache is the web server
- MySQL is for the database

Once the Apache service is started, you can check the web server is online by going to the url localhost or 127.0.0.1:

In a terminal, install net-tools
sudo apt install net-toolsThen run ifconfig to get the IP address of the guest machine:
ifconfig
On the host computer, enter the IP address of the guest machine, the web server should be available:

phpMyAdmin
Try to start phpMyAdmin on the host computer, you should get something like:

To change the server configuration, edit the file httpd-xampp.conf:
sudo featherpad /opt/lampp/etc/extra/httpd-xampp.confReplace:
Require localwith:
Require all grantedRestart the Apache Web Server in XAMPP control panel. phpMyAdmin is now available from the host computer:

See also
- How to configure php.ini on AWS EC2 Cloud9?
- How to create a fresh AWS Cloud9 environment?
- How to install a web server on Debian 11 with VirtualBox
- How to install and configure Xdebug on Ubuntu?
- How to install CodeIgniter 4 on Amazon AWS Cloud9 server
- How to install phpMyAdmin on Ubuntu?
- How to configure and run Apache server on AWS EC2 Cloud9?
- How to upgrade PHP to 7.2 on ubuntu?
- How to upgrade PHP to 7.3 on ubuntu?
- How to upgrade phpMyAdmin on Linux?
- How to install MySQL and phpMyAdmin on AWS EC2 Cloud9?
- Part 1. How to create new machine with VirtualBox?
- Part 2. How to install Debian 11 with VirtualBox?
- Part 3. How to configure Apache on Debian 11?
- Part 4. How to install PHP on Debian 11?
- Part 5. How to install MariaDB on Debian 11?
- Part 6. How to install phpMyAdmin on Debian 11?
- Part 7. How to install an FTP server on Debian 11?