Part 3. How to configure Apache on Debian 11?
Introduction
This page is part of a full tutorial on how to install a web werver on a virtual machine. This third part of the tutorial explains how to configure Apache on our freshly installed Debian. It assume a virtual machine has been created and Debian 11 is already installed. If not, please go to the home page and follow the guide.
Configure network
The first step to get our server working is to configure the network of our virtual machine. If your machine is running, shut it down. Otherwise, you'll can't change the network settings. Once the machine if off, click on the setting of your machine, and select Network in the left menu:

Select Bridged Adpater to connect the virtual machine on the host network. It assume your host computer is connected on a DHCP network. If not, you'll have to pick another configuration, but it could me problematic for reaching your web server from the host computer.

Start your machine again and log in. Once logged, run the following command:
ip aThis command displays the IP address of the guest machine:

The IP should be on the same network than the host computer.
In my case, the IP of the guest is 162.168.3.78 and the host computer is on 192.168.3.4.
Both systems are on the same network.
Keep the IP address, we'll need it in the following.
SSH
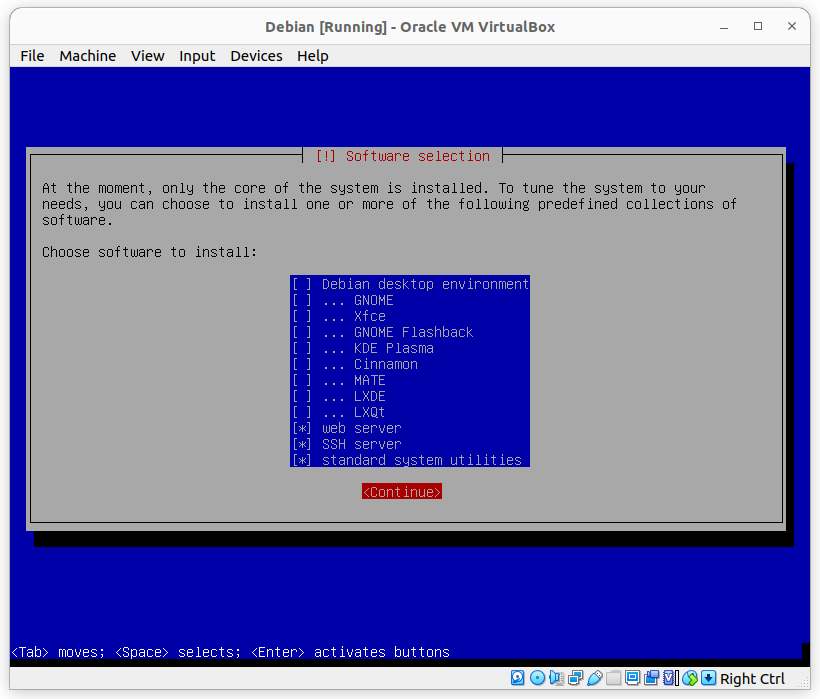
During the Debian installation, we installed ssh and a web server:
In the following we will connect to the virtual machine via SSH. By doing this, we'll can copy/paste some command in the SSH terminal. This will be easier than working in the virtual machine. It's like working on a remote computer.
Since my host computer is under Ubuntu, I'll connect to my server with the ssh command from a terminal (Ctrl+Alt+T'):
ssh USERNAME@IP_ADDRESSOf course, you have to replace USERNAME and IP_ADDRESS with your own settings.
On other systems, you'll have to used tools like PuTTY for example.
At the first ssh connection, it says you don't have the certificate. Just say yes, enter your password, and you'll be logged on your virtual machine:
philippe@philippe-Precision-T1700:~$ ssh student@192.168.3.78
The authenticity of host '192.168.3.78 (192.168.3.78)' can't be established.
ED25519 key fingerprint is SHA256:O5ASenZlfoQCQfTEGVT/CwbuziU9FDEJt0gXuxtErQU.
This key is not known by any other names
Are you sure you want to continue connecting (yes/no/[fingerprint])? yes
Warning: Permanently added '192.168.3.78' (ED25519) to the list of known hosts.
student@192.168.3.78's password:
Linux debianwebserver 5.10.0-19-amd64 #1 SMP Debian 5.10.149-2 (2022-10-21) x86_64

The programs included with the Debian GNU/Linux system are free software;
the exact distribution terms for each program are described in the
individual files in /usr/share/doc/*/copyright.

Debian GNU/Linux comes with ABSOLUTELY NO WARRANTY, to the extent
permitted by applicable law.
Last login: Wed Dec  7 16:40:50 2022
student@debianwebserver:~$
For future connections, you'll just have to enter your password.
Apache
You are now remotly connected to your server. If you follow this guide from the beginning, you probably noticed the web server Apache was already installed with Debian. Apache is the most popular web server, it serves html files located in a dedicated folder. Let's check that the Apache deamon is running with the following command:
sudo systemctl status apache2The output should be like:
student@debianwebserver:~$ sudo systemctl status apache2
[sudo] password for student:
● apache2.service - The Apache HTTP Server
     Loaded: loaded (/lib/systemd/system/apache2.service; enabled; vendor preset: enabled)
     Active: active (running) since Wed 2022-12-07 17:05:48 CET; 2min 21s ago
       Docs: https://httpd.apache.org/docs/2.4/
    Process: 317 ExecStart=/usr/sbin/apachectl start (code=exited, status=0/SUCCESS)
   Main PID: 404 (apache2)
      Tasks: 55 (limit: 4563)
     Memory: 11.8M
        CPU: 44ms
     CGroup: /system.slice/apache2.service
             ├─404 /usr/sbin/apache2 -k start
             ├─405 /usr/sbin/apache2 -k start
             └─406 /usr/sbin/apache2 -k start

Dec 07 17:05:48 debianwebserver systemd[1]: Starting The Apache HTTP Server...
Dec 07 17:05:48 debianwebserver apachectl[382]: AH00558: apache2: Could not reliably determine the server's fully qualified domain name, using 127.0.1.1. Set the 'ServerName' directive globally to suppress this message
Dec 07 17:05:48 debianwebserver systemd[1]: Started The Apache HTTP Server.
The status should be active. If so, open your favorite browser and enter the IP address of your machine in the URL bar:

If you get the above page: congratulation! Your web server is working!
Configure Apache
Apache server serves the folder /var/www/html by default.
If we place new files or folder in this folder, they will be publicy available from the client.
If you list the files in this folder, you'll see the index.html file that is displayed in the browser.
student@debianwebserver:~$ ls /var/www/html/ -al
total 20
drwxr-xr-x 2 root root  4096 Dec  7 16:02 .
drwxr-xr-x 3 root root  4096 Dec  7 16:01 ..
-rw-r--r-- 1 root root 10701 Dec  7 16:02 index.html
In the next part of our tutorial, we'll install an ftp server so that the users will be able to upload files on the server.
Since the /var/www/html folder needs privileges to be modify, we'll move this folder to our personal space.
First, let's create a new folder on our server that will serve as a root for the Apache server.
Let's call it www:
mkdir ~/wwwI recommand to backup the files will modify with the following commands. If something should go wrong, we can always go back to the original configuration.
sudo cp /etc/apache2/apache2.conf /etc/apache2/apache2.conf.backup
sudo cp /etc/apache2/sites-enabled/000-default.conf /etc/apache2/sites-enabled/000-default.conf.backup
Let's edit the Apache configuration:
sudo nano /etc/apache2/apache2.conf Find and replace the following line:
<Directory /var/www/>by (don't forget to replace username by your username):
<Directory /home/username/www/>You can also activate the mod_rewrite (rewrite URL to another address) by modifying this line:
AllowOverride Noneby this one:
AllowOverride AllSave and exit nano.
To activate mod_rewrite, you must execute the following command and restart the Apache server:
sudo a2enmod rewritesudo systemctl restart apache2Edit the file 000-default.conf with the following command:
sudo nano /etc/apache2/sites-enabled/000-default.confFind and replace the following line:
DocumentRoot /var/www/htmlby (don't forget to replace username by your username):
DocumentRoot /home/username/wwwRestart the server so that the changes are effective:
sudo systemctl restart apache2.serviceCreate an index.html file in the www folder and insert some HTML in the file:
echo "<h1>Apache root directory changed</H1>" > ~/www/index.htmlGo to your browser and check the home page of your server:

Apache is ready. Let's now install PHP.
See also
- How to configure php.ini on AWS EC2 Cloud9?
- How to create a fresh AWS Cloud9 environment?
- How to install a virtual XAMPP web server on Lubuntu
- How to install a web server on Debian 11 with VirtualBox
- How to install and configure Xdebug on Ubuntu?
- How to install CodeIgniter 4 on Amazon AWS Cloud9 server
- How to install phpMyAdmin on Ubuntu?
- How to configure and run Apache server on AWS EC2 Cloud9?
- How to upgrade PHP to 7.2 on ubuntu?
- How to upgrade PHP to 7.3 on ubuntu?
- How to upgrade phpMyAdmin on Linux?
- How to install MySQL and phpMyAdmin on AWS EC2 Cloud9?
- Part 1. How to create new machine with VirtualBox?
- Part 2. How to install Debian 11 with VirtualBox?
- Part 4. How to install PHP on Debian 11?
- Part 5. How to install MariaDB on Debian 11?
- Part 6. How to install phpMyAdmin on Debian 11?
- Part 7. How to install an FTP server on Debian 11?